Free guide
The walk guide
Everything I say out loud on a workshop walk, written down. There is no course to buy at the end of it. If you never come on a walk, this still works.
gastonshutters.com · the walk guide · free to copy, print and pass on
This is the whole thing, free. It is what a day with me covers, in the order it happens. A walk is not this text read aloud, it is doing the uncomfortable part with other people doing it beside you, but nothing here is held back to make you pay for the rest.
1 · Follow the light
If you take one thing from this, take this one, because it changes what you do with your feet rather than what you do with the camera.
Most people photograph whatever is in front of them and let the light fall where it lands. The result is the single most common failure I see: the light is in front of the camera, behind the subject, and the subject comes out dark. Not artistically dark. Just dark, and unreadable, and disappointing on the screen at home.
Turn around. Put the light behind you and the same subject is properly exposed, and the picture you thought you were taking is the picture you get.
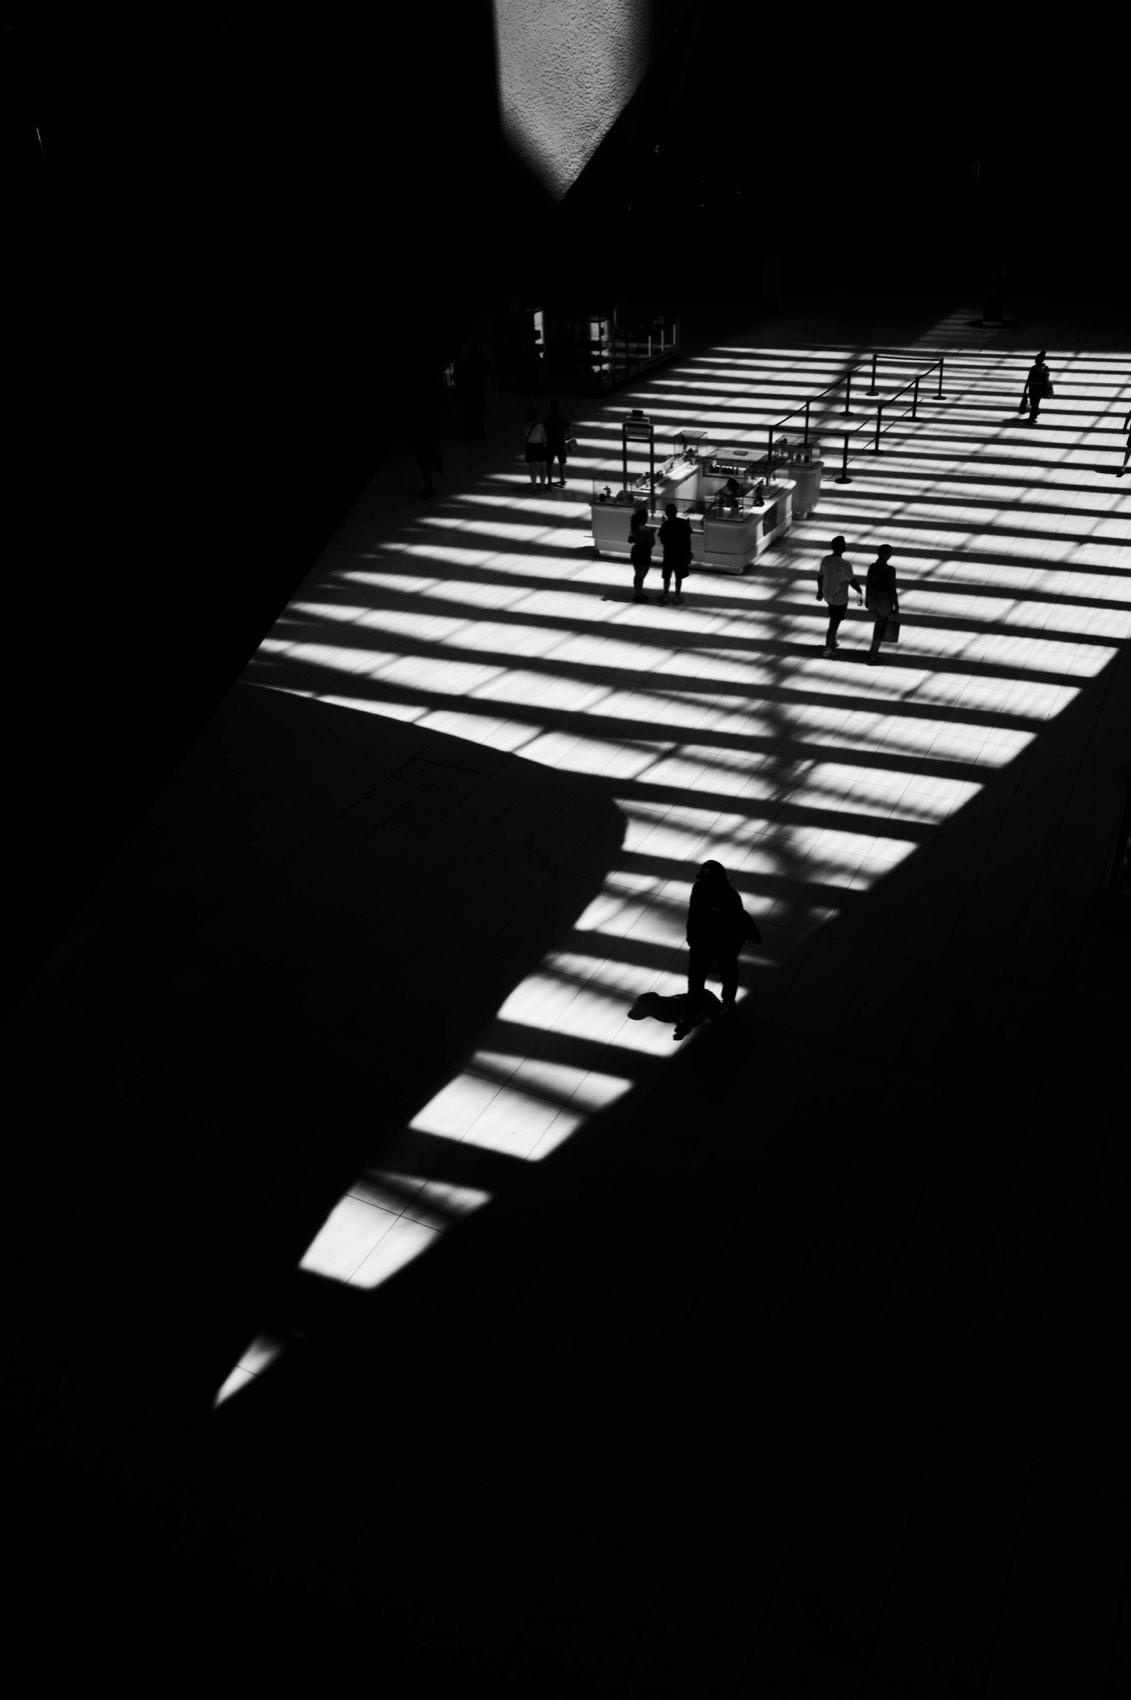
Then, once that is a habit, break it deliberately. Backlight is not a mistake when you choose it. Expose for the bright part, let the subject go to a shape, and you get a silhouette that is stronger than the correctly exposed version ever was. The difference between the failure and the technique is whether you meant it.
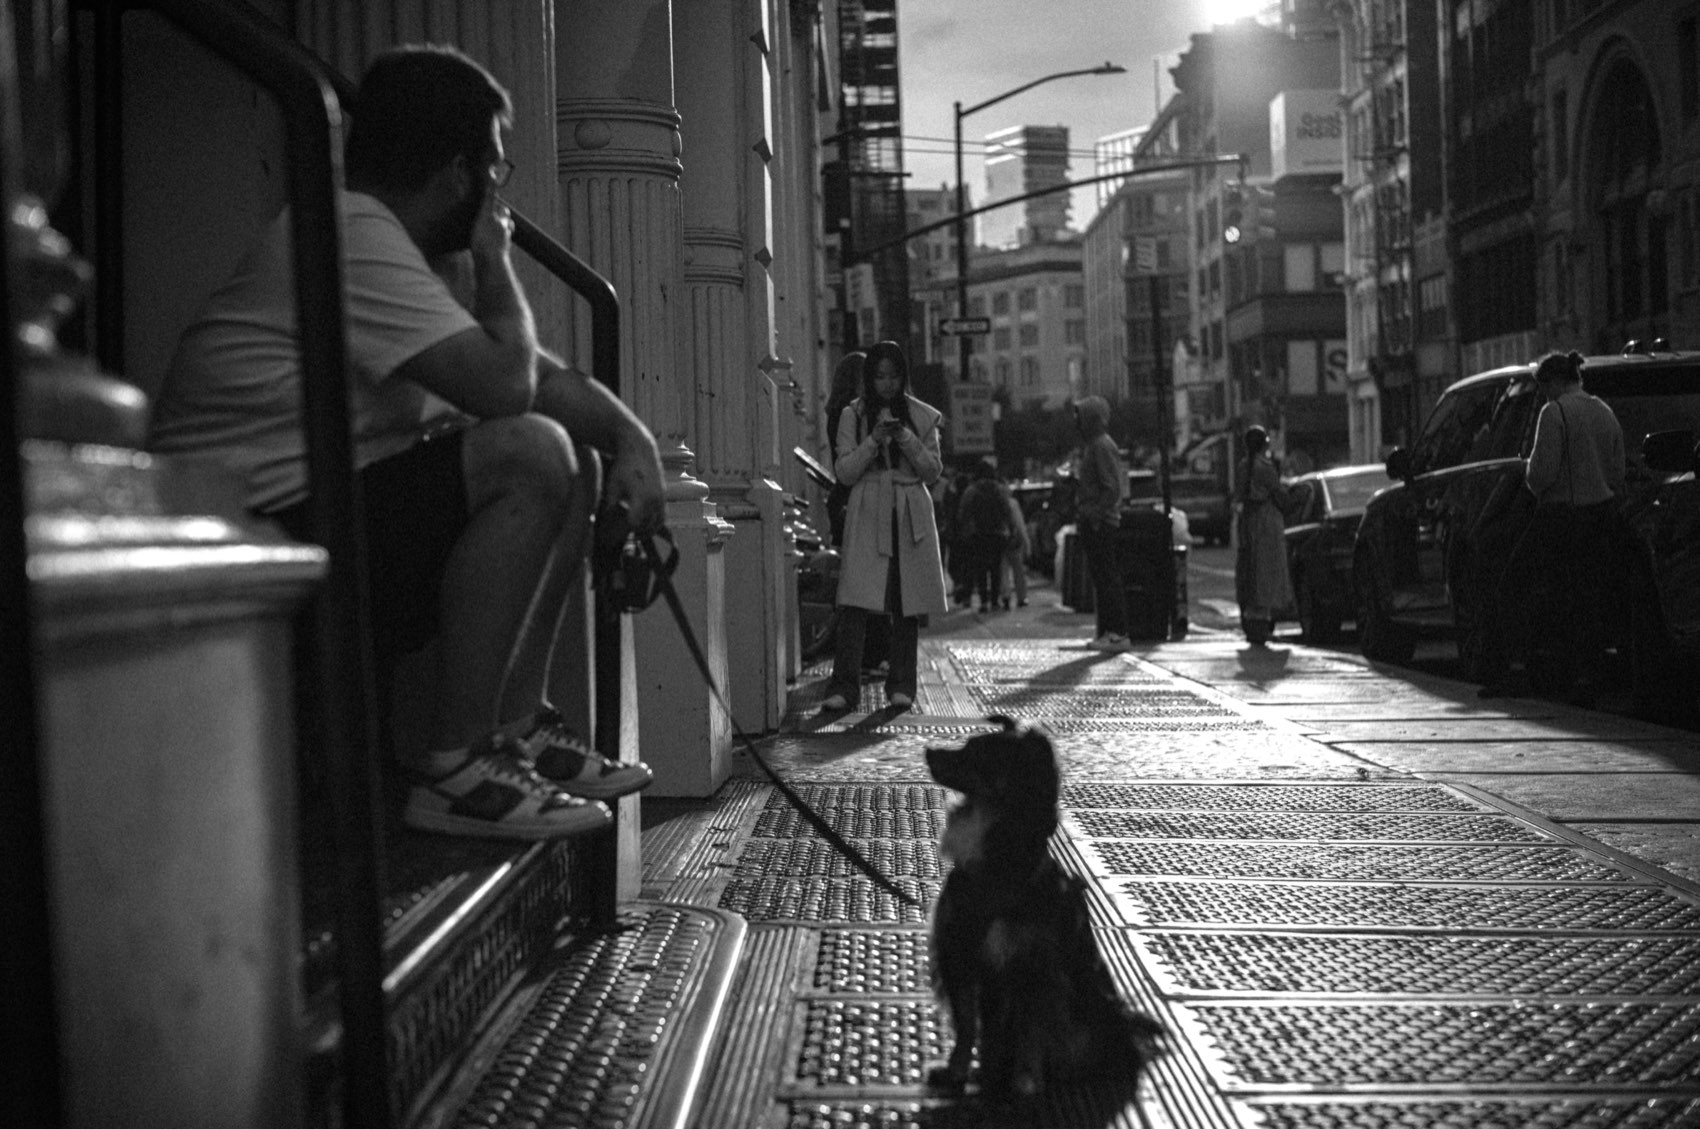
So the instruction is not find good light, which is advice nobody can act on. It is: look for where the light is falling, and go and stand where it is going to work. A figure crossing a shaft of light while everyone around them is in shade is a photograph. You do not make that with settings. You make it by being on the correct side of the street.
2 · Set it once
The camera is not the interesting part, and the fastest way to miss photographs is to be adjusting it when one happens. So the settings get done once, at the start, and then I do not touch them again for the rest of the walk.
- Aperture. Something that gives you depth rather than a thin sliver of focus. On a 35mm lens in daylight, f/8 is a working default. You are not making portraits with creamy backgrounds, you are trying to have everything from a few feet away to the far side of the street acceptably sharp.
- Shutter. Fast enough to stop a walking person. If it drops below that, raise the ISO rather than lowering the shutter. Grain is a look. Motion blur on a face is a bin.
- ISO. Whatever the first two need. Modern sensors are extremely good and the fear of high ISO is mostly a decade out of date.
- Focus, and this is the one that matters. Zone focus. Set the distance by hand and leave it. With the tab at the middle mark you have a band of acceptable sharpness that covers most of what happens on a pavement, and the camera never hunts, never hesitates, and never misses the moment while it decides.
Learn what your lens actually does at three distances, because guessing is what makes people distrust manual focus:
- 0.7 metres. The closest most rangefinder lenses will go. Roughly an arm's length. This is closer than you think and it is where the good portraits are.
- 1.5 metres. Conversation distance. The one you will use most.
- Infinity. The far side of the road, the traffic light, the building.
Do it as a test before you start walking. Pick something at each of the three distances, photograph it, and look at the back of the camera. Not to admire it, to prove to yourself that the setting works. Once you have seen your own lens be sharp at a distance you set by hand, you stop second-guessing it, and that is the whole point of the exercise.
3 · What to look for
This is the long part, and it is a toolbox rather than a list to memorise. On a walk we take them one at a time and use each one until it stops feeling like an instruction. Reading all ten at once is the least useful way to receive them, so take two on your next walk and ignore the rest.
Go low
Not a crouch. The camera down near the pavement, looking up. Everything gains weight from down there: people become monumental, ordinary objects get sky behind them instead of clutter. It feels ridiculous the first ten times and then it becomes the angle you reach for.
Contrast
Something has to separate from what is behind it. A dark subject against a light background, or the reverse. When everything in the frame is the same tone you get a bunch of nothing: technically a photograph, visually a wall. This is the single most common reason a frame that felt exciting on the street is dead on the screen.
Frame inside the frame
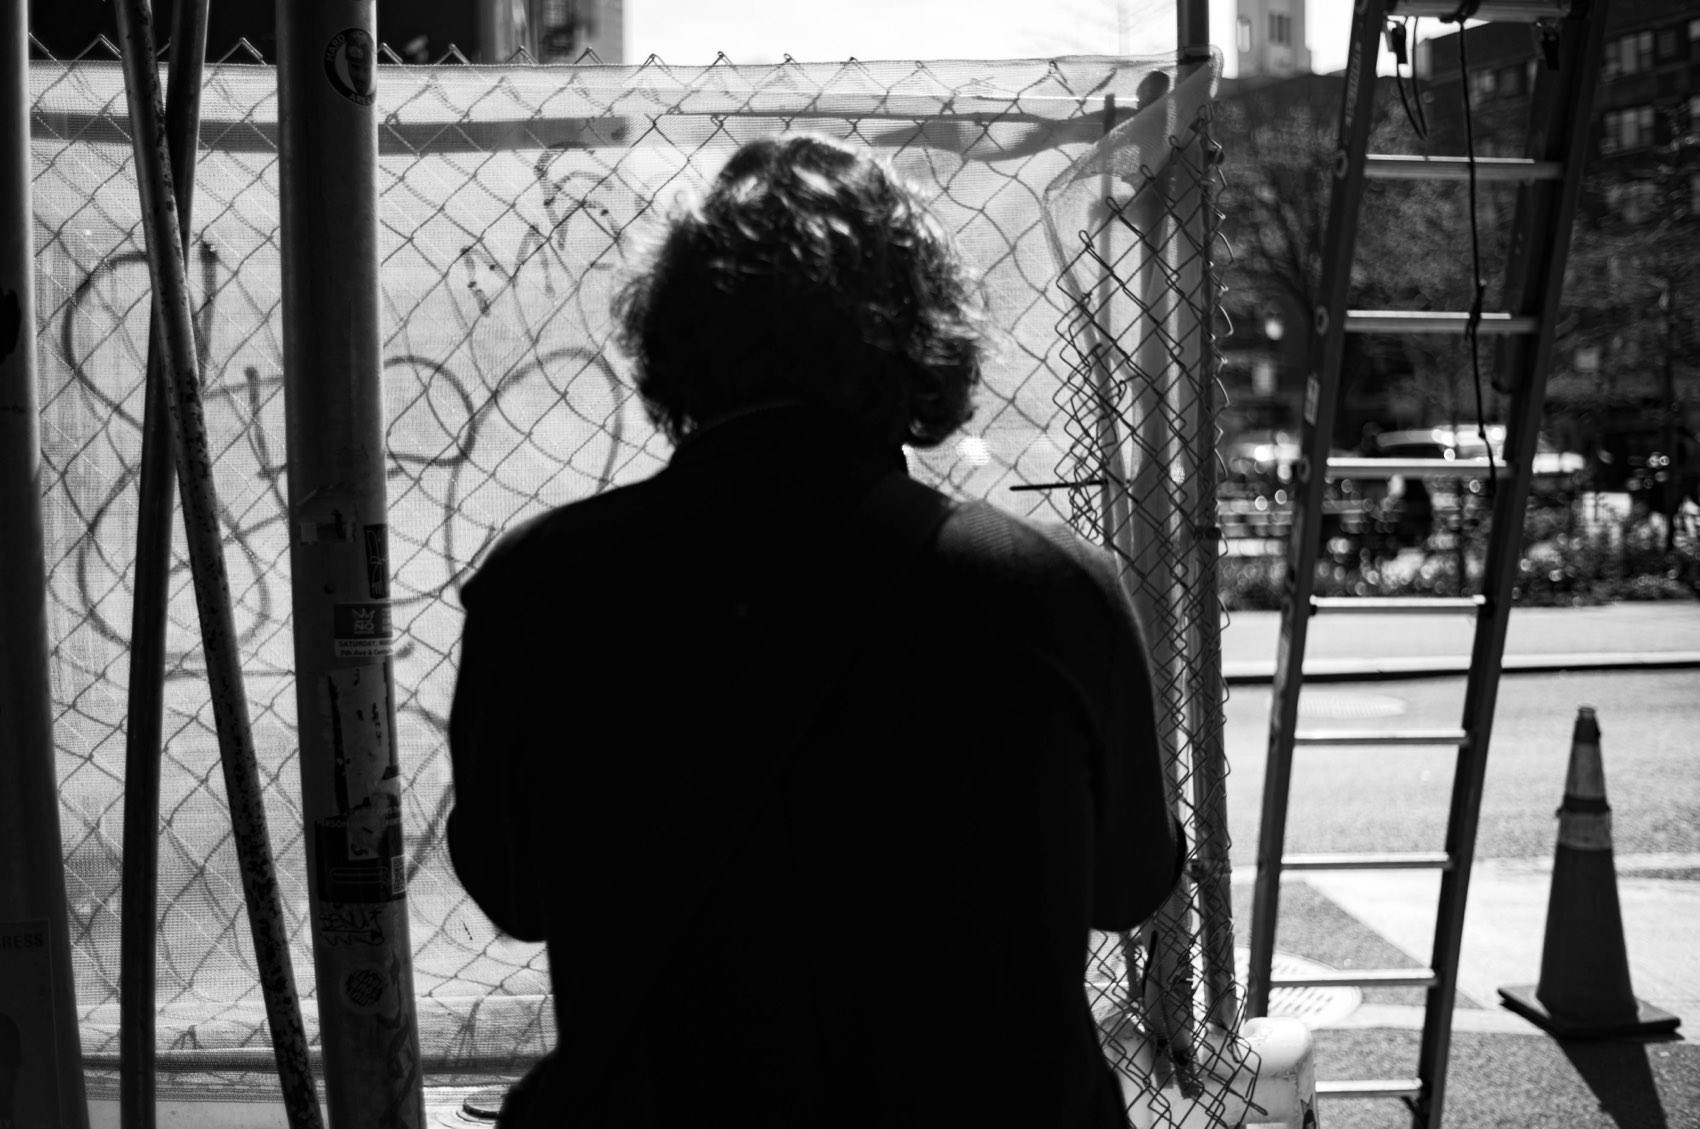
Use what is already there. A handrail, a doorway, a gap between two people. Put your subject inside it. A diagonal that cuts the picture roughly in half gives the eye somewhere to enter and something to hold on to, and it costs nothing but standing in a slightly different place.
One subject, three ways
When you find something worth photographing, do not take one frame and walk on. Take it from underneath, take it level from the front, then take it from the side and let it divide the screen. Three photographs of one nut stand will teach you more about what angle does than thirty photographs of thirty different things.
Layering
Three or more subjects at clearly different distances, staggered so they do not overlap into mush. This is the hardest one and it is the one that separates a snapshot from a photograph, because it can only be built by moving your feet until the depths line up. It is worth more practice than everything else here combined.
Watch for the scene that unveils
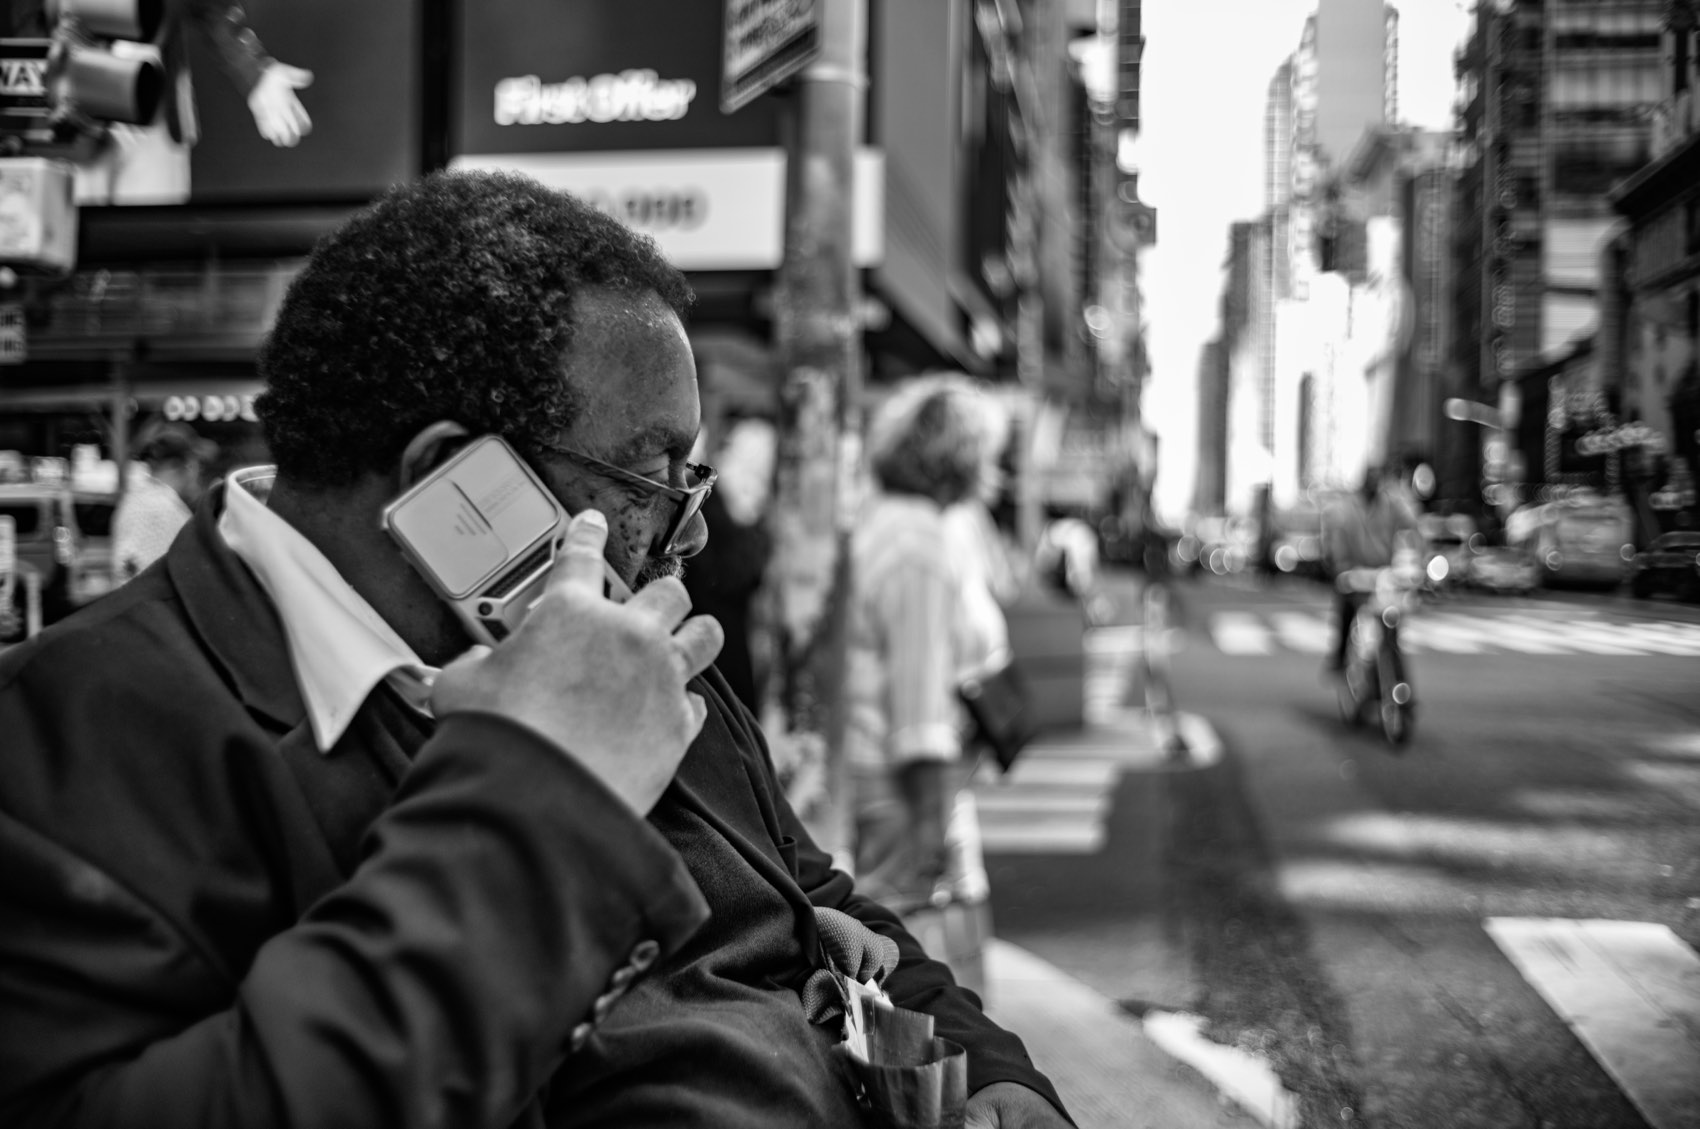
Half the best frames arrive while you are setting up for a different one. You are composing something ordinary, and behind it or beside it something better opens up for two seconds. If you are locked onto your original idea you will miss it. Stay loose enough to turn.
Pattern, and the break in it
Repetition organises a frame: crosswalk stripes, railings, a row of windows, birds on a wire. The photograph is usually not the pattern, it is the one thing interrupting it. Find the repetition first, then wait for something to cross it.
Negative space
A small subject with a large amount of nothing around it. Most people fill the frame because empty space feels like a mistake. It is not. Space is what makes the subject read as alone, or small, or deliberate.
Reflections
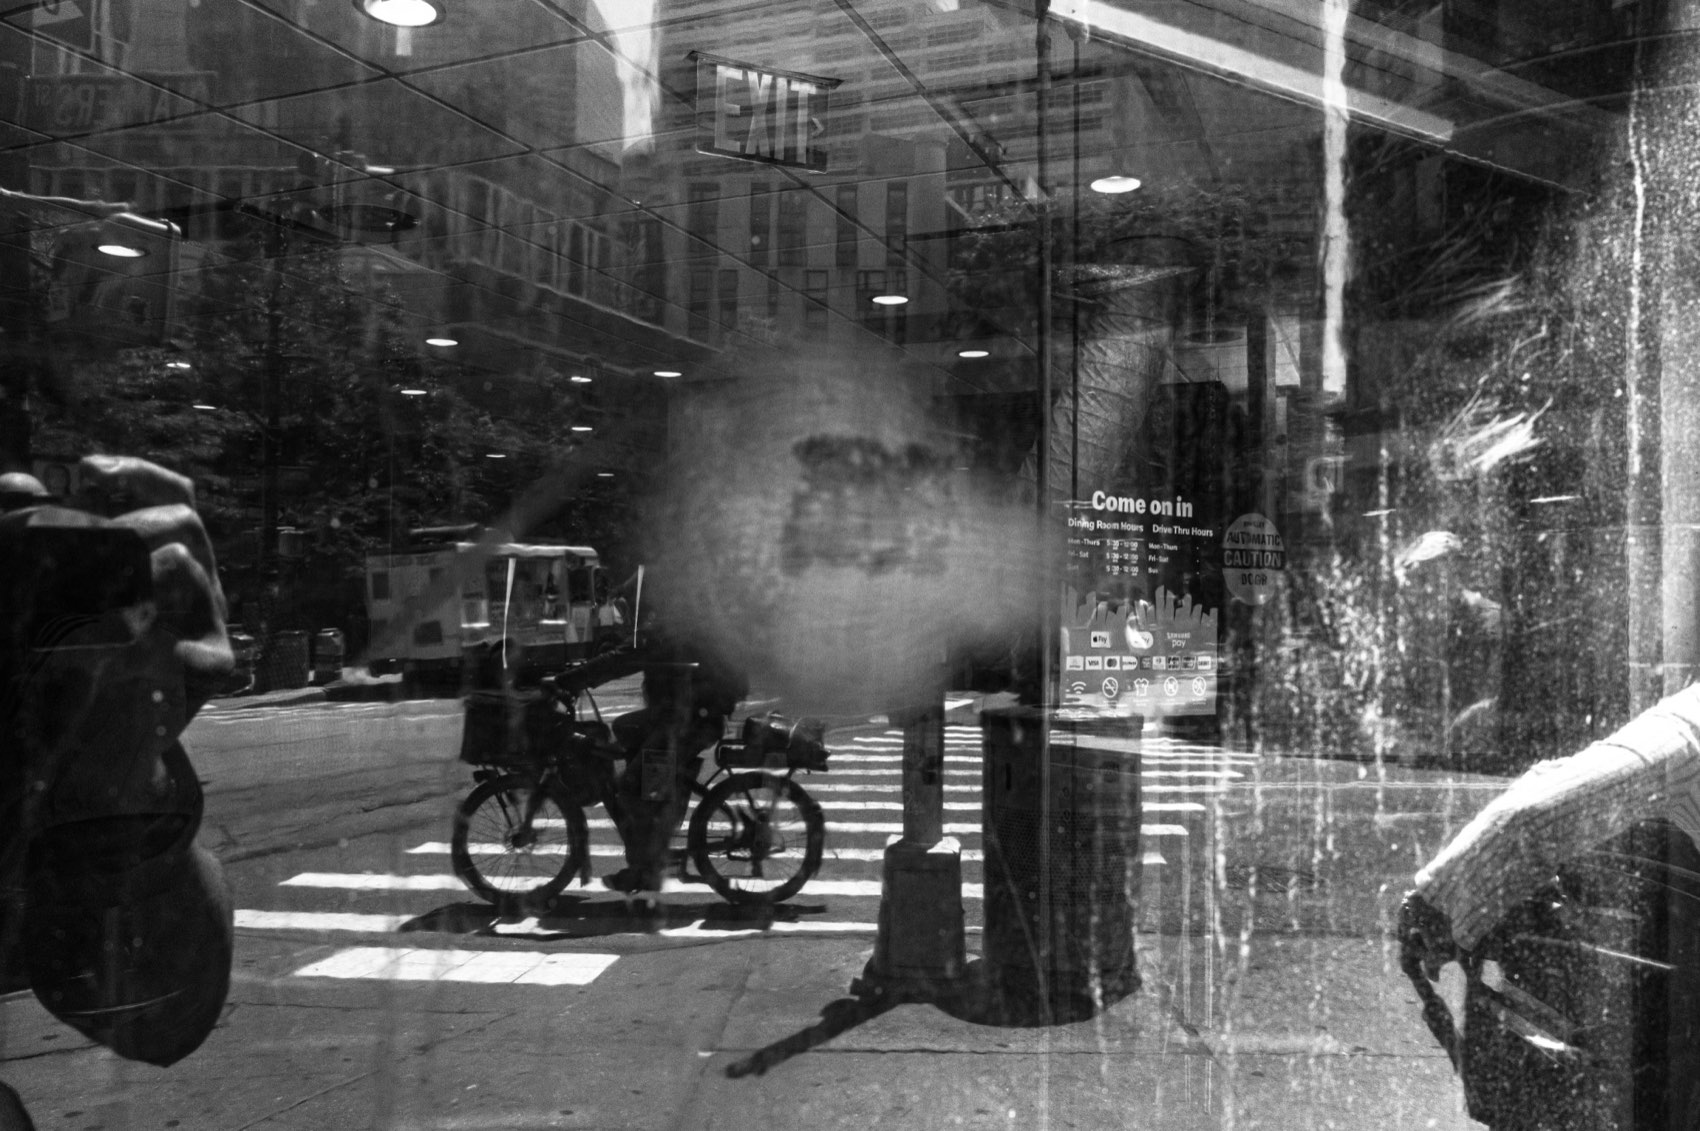
Glass gives you three different pictures. A clean mirror image, a distortion that bends the subject, and a texture where the surface itself carries dirt and light. A door that swings is the best of the three, because the reflection changes while you stand there and you can wait for the version you want.
Weather
Bad light is good light. Wet streets reflect everything and turn a dull road into a second sky. Rain puts umbrellas and hurry and steam into a street that had none of it an hour before. The days most people stay in are the days with the least competition and the most to photograph.
4 · People
This is the part everyone actually came to ask about, and the part no amount of reading will do for you. The technique is not complicated. Doing it is.
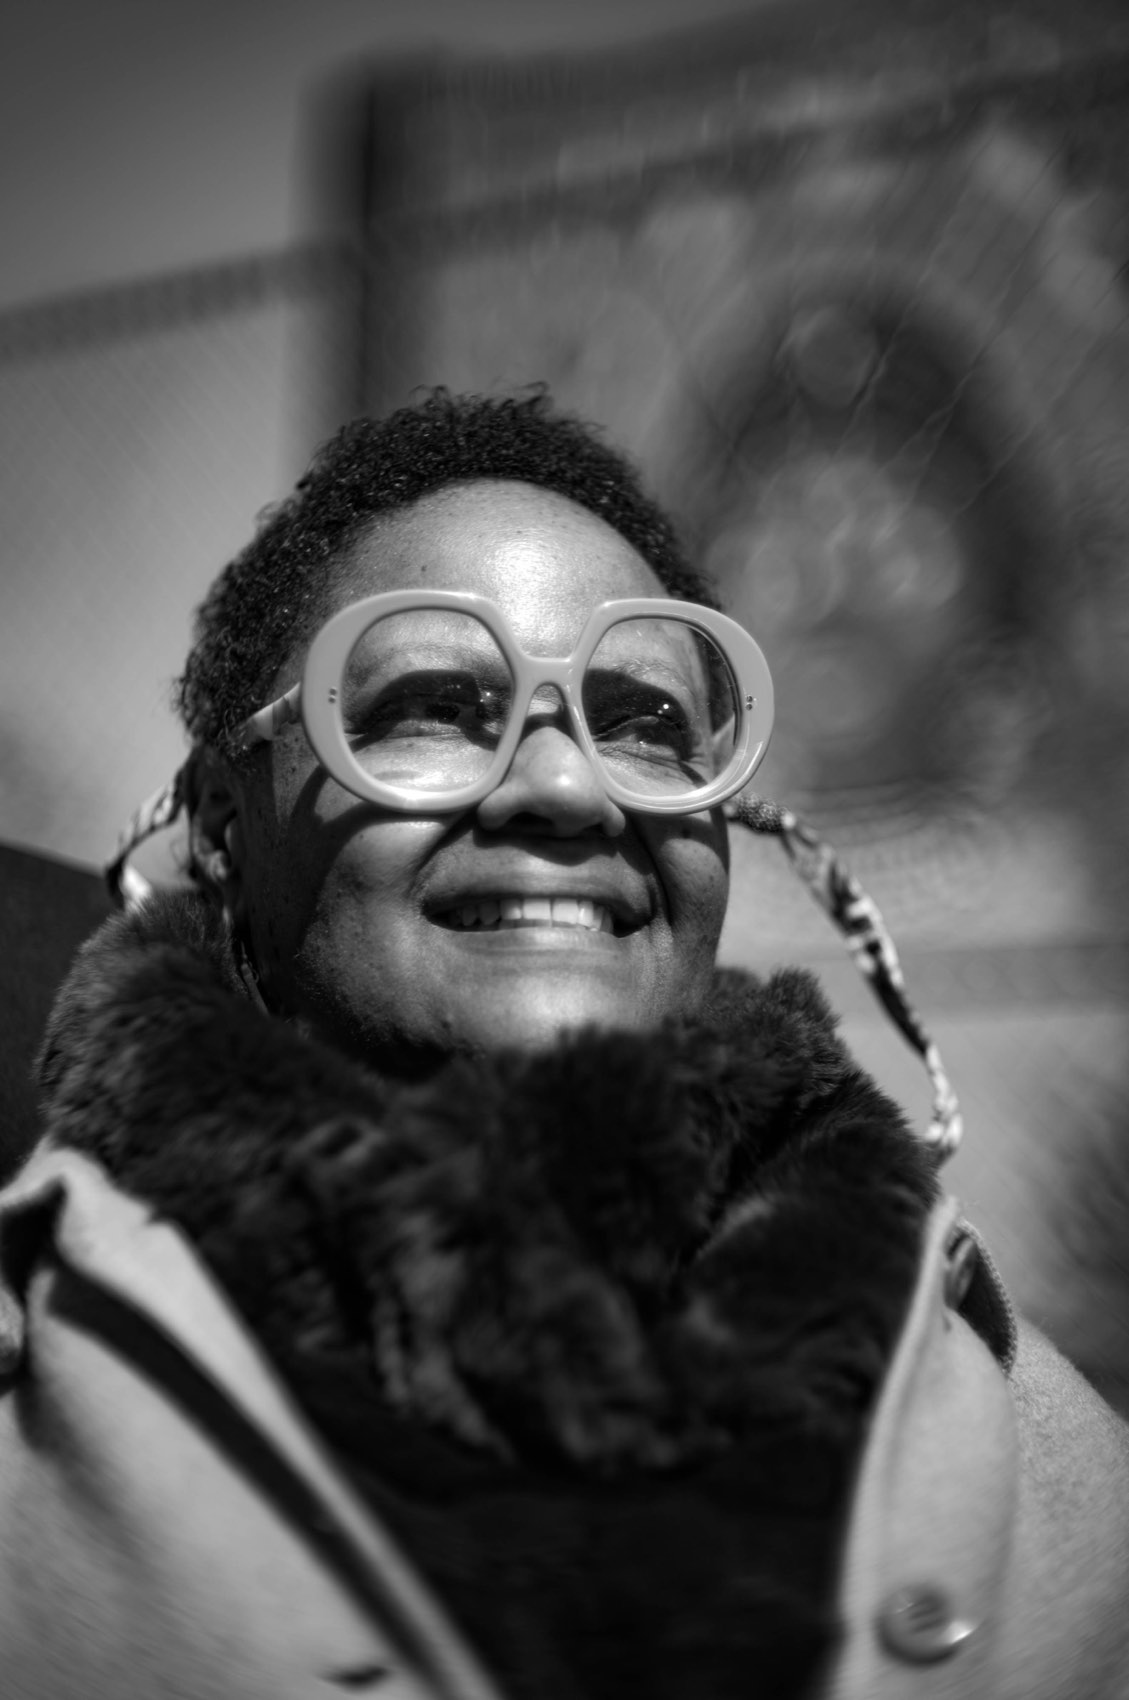
What I do is ask. Out loud, plainly, in one sentence. It takes about forty seconds start to finish. Some people say no, and no is a complete answer and costs you nothing.
Three things make it work:
- Say what you are doing and why them. Not a compliment, a reason. People can tell the difference between being flattered and being seen.
- Take the picture quickly. The longer you fuss, the more time they have to arrange their face into the one they use for cameras.
- Show them the picture. This is the part most people skip and it is the part that matters. It turns a transaction into an exchange, it is the reason people relax, and it is the reason the second frame is almost always better than the first.
Because the frame worth keeping is nearly always the one right after they stop posing. Ask, shoot, show them, and then keep the camera up for three more seconds. That is where the photograph is.
Once someone has said yes, you can direct a little. Move them into the light rather than fixing the light. Photograph them from below. Ask for the hand, or the object, or the detail that made you stop, rather than the whole person, since it was rarely the whole person that caught you.
And when you have the safe frame, take the risk. Expose for the sky and let them go completely dark. Go the opposite way to the correct one. You already have the picture that works, so the second one costs nothing.
You will also miss. There are frames I could not compose, of things I was right to stop for, where I simply did not solve it in the seconds available. Keep those. The miss tells you what to do differently far more precisely than the hit does.
5 · Patience
The least glamorous skill, and the one that produces most of the good pictures.
Find a frame that already works with nobody in it. Good light, a shape, a doorway, a wall with a graphic on it. Then stand there and wait for somebody to walk into it.
That is it. It feels like doing nothing, and it is the opposite of what beginners do, which is walk further and faster in the hope of finding a complete photograph already assembled. Complete photographs are rare. Half-finished ones with a person missing are everywhere.
Standing still also fixes the most common complaint I hear on a walk, which is a version of this:
Nothing happens in my city.
Something happens in your city. I have made photographs I still use at a tyre repair place and outside a guitar store. What people mean when they say it is that their city does not look like the photographs they admire, which were taken somewhere with better architecture and more strangers per square metre.
The answer is not to travel. It is to lower your idea of what qualifies. An ordinary place with someone doing an ordinary thing in decent light is the entire genre. If you cannot find a picture in twenty minutes of standing still somewhere plain, the problem is the standard, not the street.
One practical escape when it truly is not working: change focal length. Not gear, focal length. If reality is boring at 35mm, go longer and compress it, or go wider and get closer than is comfortable. A different lens does not make a different city, but it makes you look at the same one differently, which is usually what was actually needed.
6 · The kit
Small, and the same every time.
One body, one lens, no bag if you can manage it. The reason is not purity, it is decisions. Every additional lens is a choice you make on the street instead of a photograph you take on the street, and the choice takes longer than the moment lasts.
A 35mm is close enough to how you see that you stop translating. You learn what it takes in, and after a few months you know whether a frame works before the camera is at your eye. That is the whole benefit, and you only get it by not changing lenses.
The one piece of kit worth actually thinking about is the strap, because it is the only part touching you for six hours. Something that holds the weight and does not dig in. Everything else in a camera bag is a way of carrying doubt.
7 · What to do tomorrow
Do not try to use all of this. It is a year of things and you will remember none of it under pressure.
- Set the camera once before you leave and refuse to touch it. Zone focus, and trust it because you tested it.
- Pick two things from the toolbox. Go low and contrast is a good first pair. Ignore the other eight entirely.
- Ask one person. One. Show them the picture afterwards.
- Stand in one place for twenty minutes somewhere unremarkable and wait for the frame to complete itself.
Then go home and look at them the next day, not the same night, and be harder on them than you want to be.
And if you leave with more questions than you arrived with, that is the point. The questions are the ones you get to answer, over and over, every time you want to become an alibi of a moment.
A walk is this, done together, with the uncomfortable parts done in company. Where the next one is, and how to request one for a school or a camera club.